Paint
- Mr.Surfacer 1000
- Mr.Hobby Premium Top Coat: Gloss
- Tamiya
- Royal Blue: X-3
- Green: X-5
- Semi Gloss Black: X-18
- Clear Blue: X-23
- Clear Red: X-27
- Flat Black: XF-1
- Flat Yellow: XF-3
- Flat Aluminum: XF-16
- Model Masters
- Arcylic Olive Drab FS34087
- Enamel Light Ghost Gray FS36375
- Tamiya X-20A
- Sunnyside Lacquer Thinner
- Paint Thinner
Tools
- Nippers
- God Hand Sanding Stick 10mm-Assortment (#2k, 4k, 6k, 8k, 10k)
- X-Acto Knife
- Paint Brushes
- Master Airbrush
Other
- Micro Set
- Micro Sol
- Tamiya Extra Thin Cement
- J-B Super Weld
- 3M Masking Tape
- Tamiya Masking Tape
- Foam Scraps
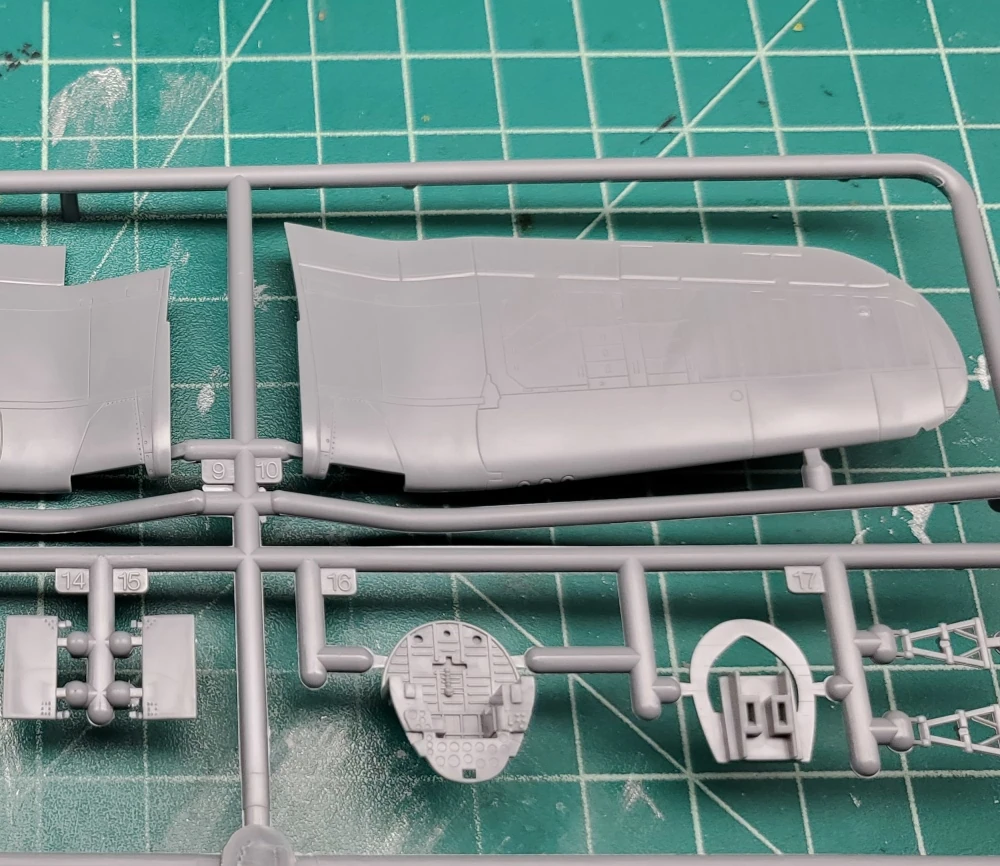
This kit was purchased for only around 20 dollars, which was a very good deal. Opening up the box there are 3 sprues (2 plastic & 1 clear), instructions, and a decal sheet. The clear parts were clear and parts were molded with pretty good detail. According to scalemates, the kit was released in 2000.
Cockpit
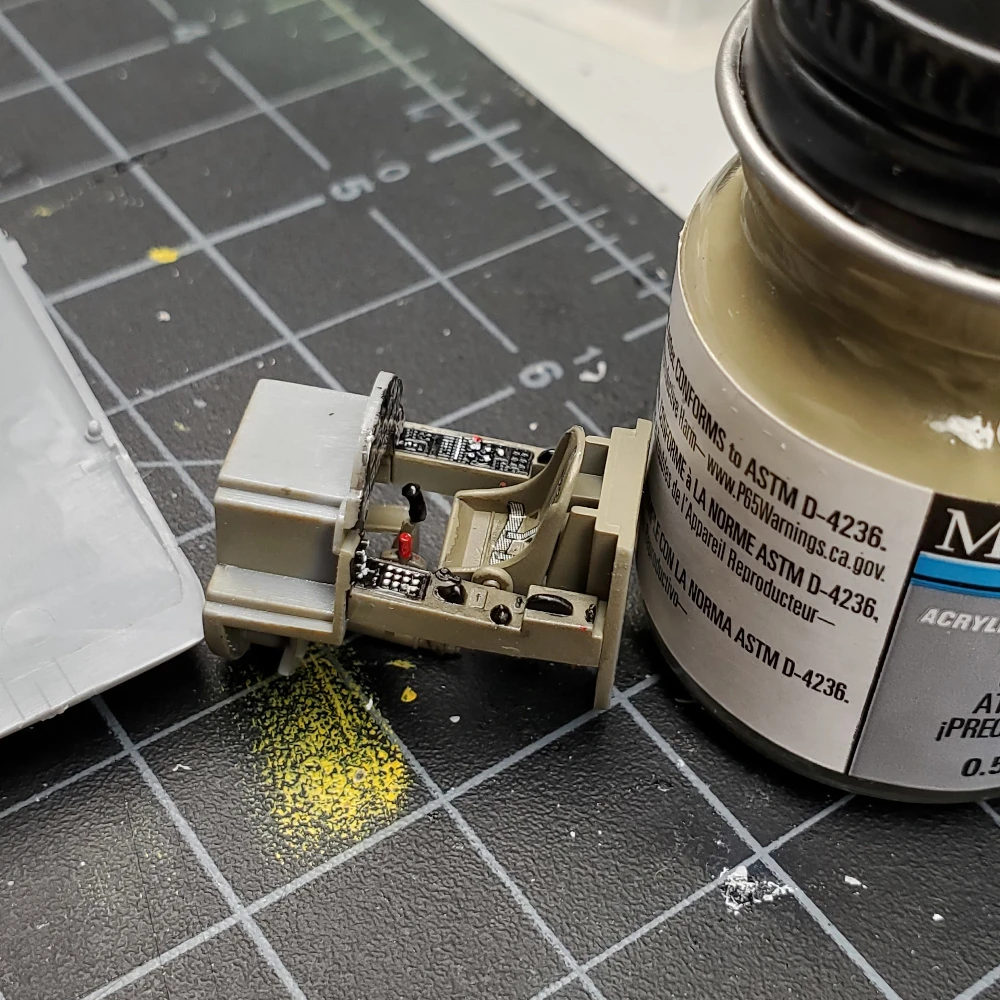
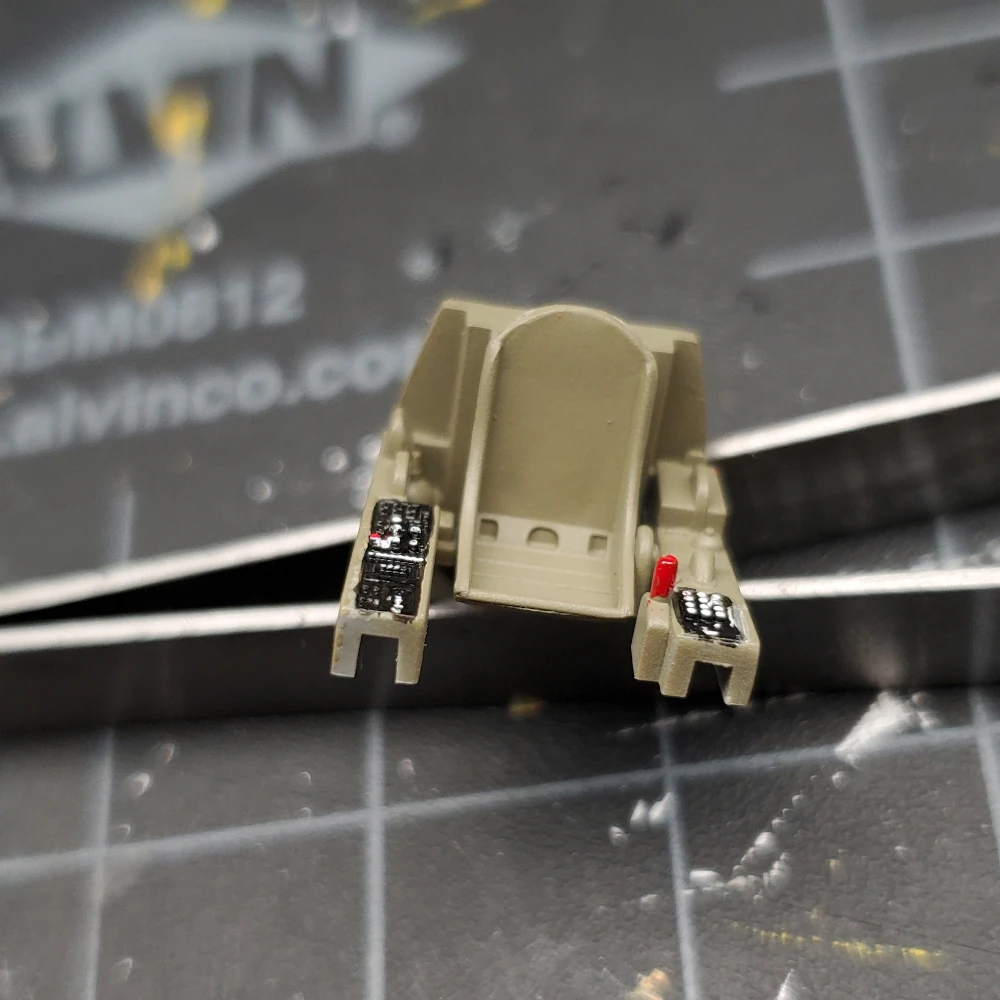
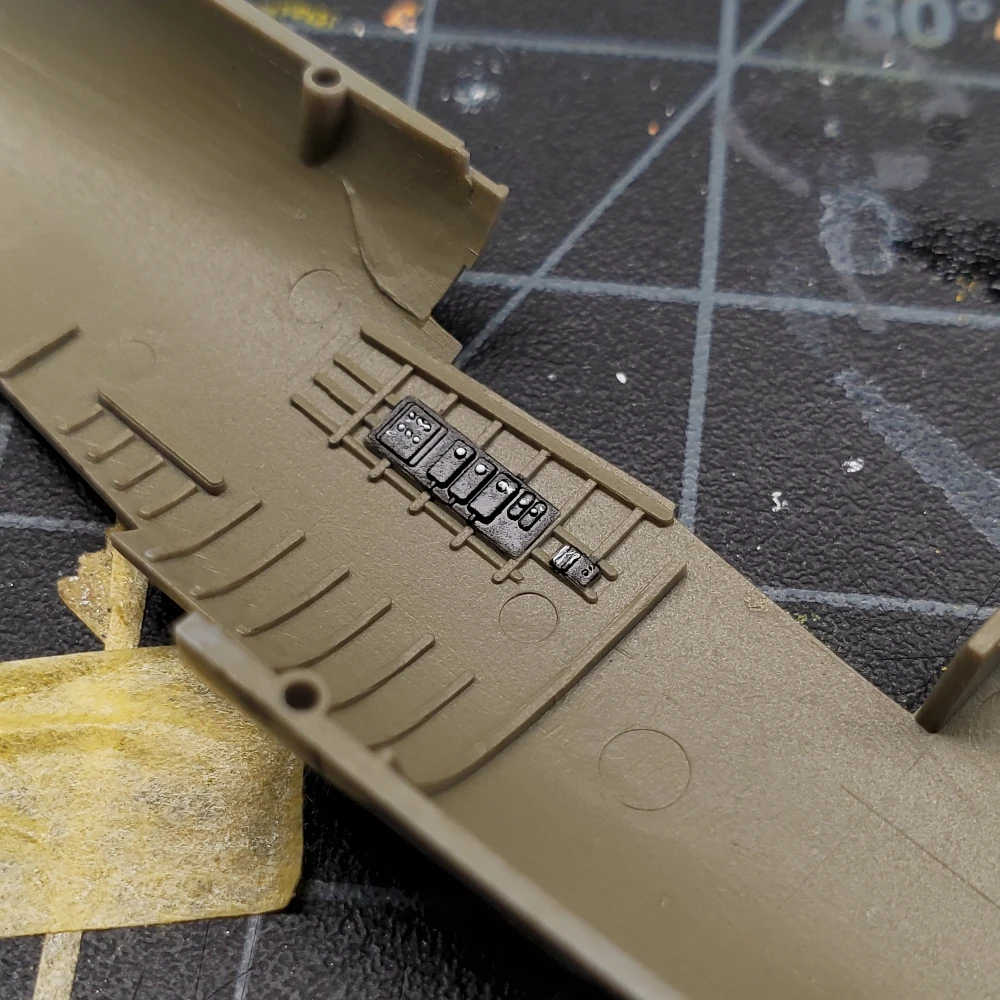
Like most airplane models, the first assembly step is the cockpit. The design of putting the cockpit together was very nice. The center stick was fragile and broke off. This was carefully glued back on. After all the parts were assembled, everything was painted with Model Masters FS34087 with the airbrush. The rest of the details were painted on with a paintbrush with Tamiya Semi-Gloss Black + Red + Yellow. The sides of the cockpit was painted similarly.
Body Assembly
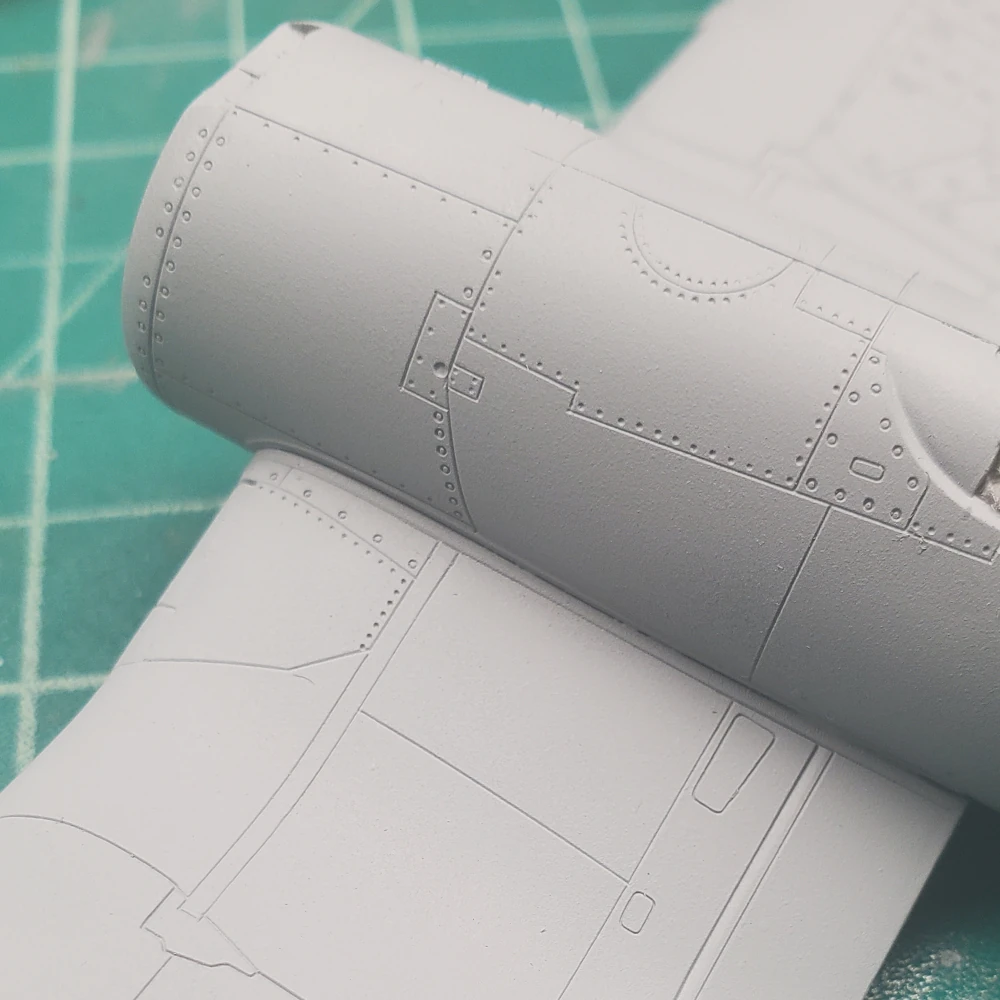
The assembly of the fuselage came together very nicely with all the parts fitted almost perfectly. holes were drilled with a small drill bit for the rockets to be glued in later. The wings were connected with the fuselage which was very easy. Once finished, it becomes very hard to see where any parts meet to be glued due to the design being very descrete about it.
Painting
The whole body was painted with Mr.Surfacer 1000 + some regular lacquer. It dried pretty fast, but this is most likely due to Mr.Color Leveling Thinner not being used which has a retarder that slows down drying time. I had never used this surfacer before but the result was really amazing. It did a very good job and served as a very good base for the full coat. To protect the painted wheel wells from the surfacer and future layers, pieces of foam were cut and placed in.
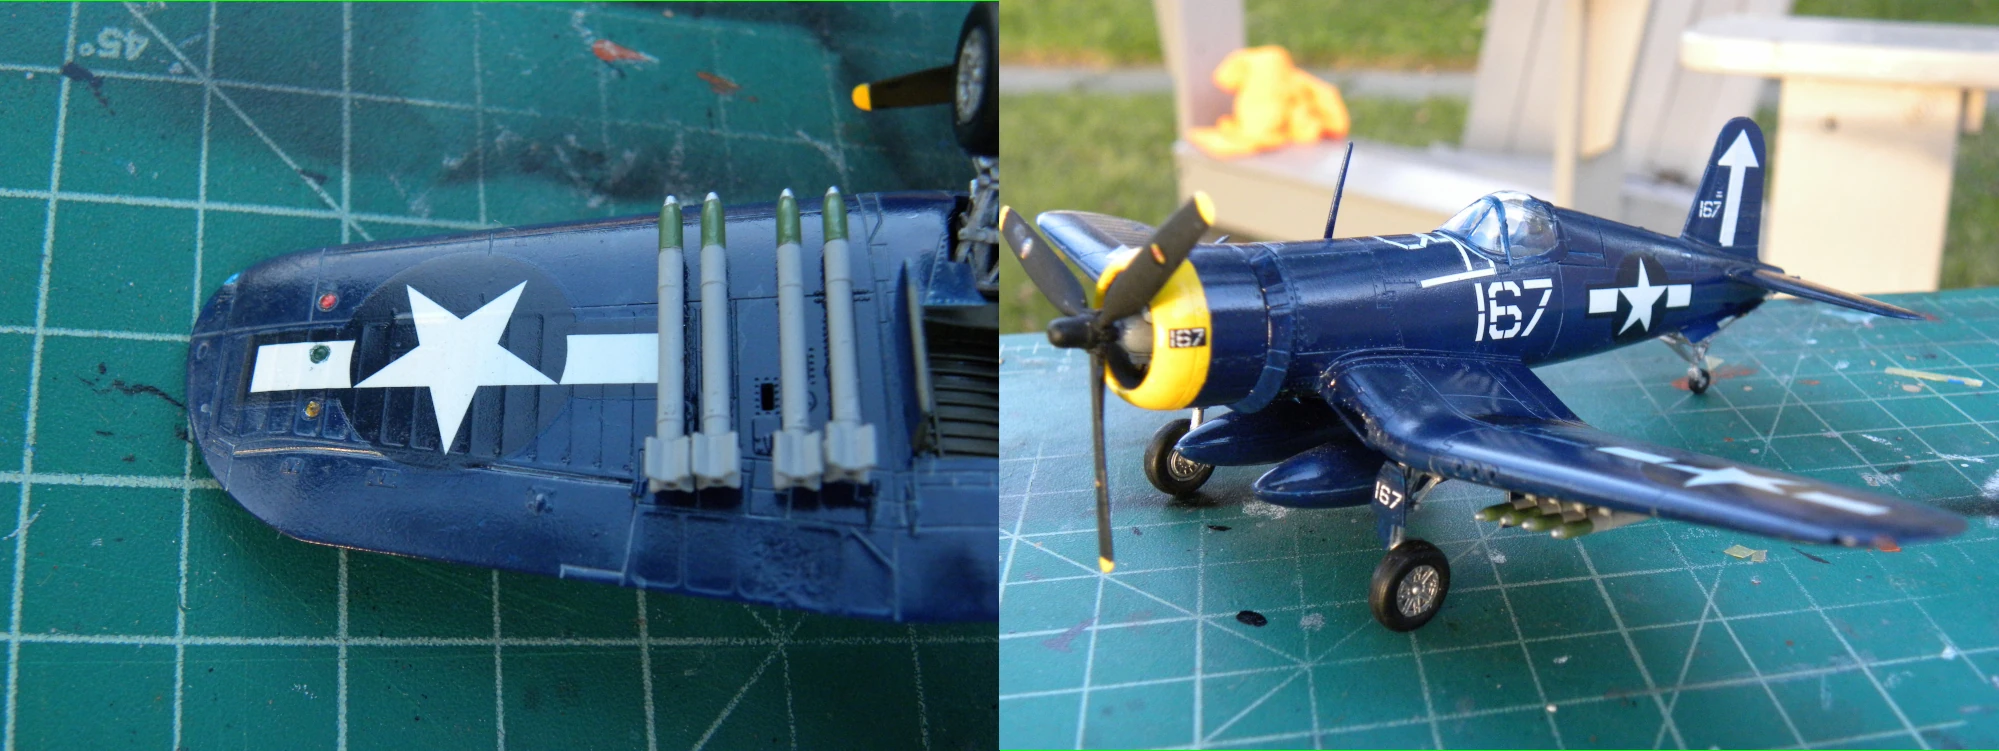
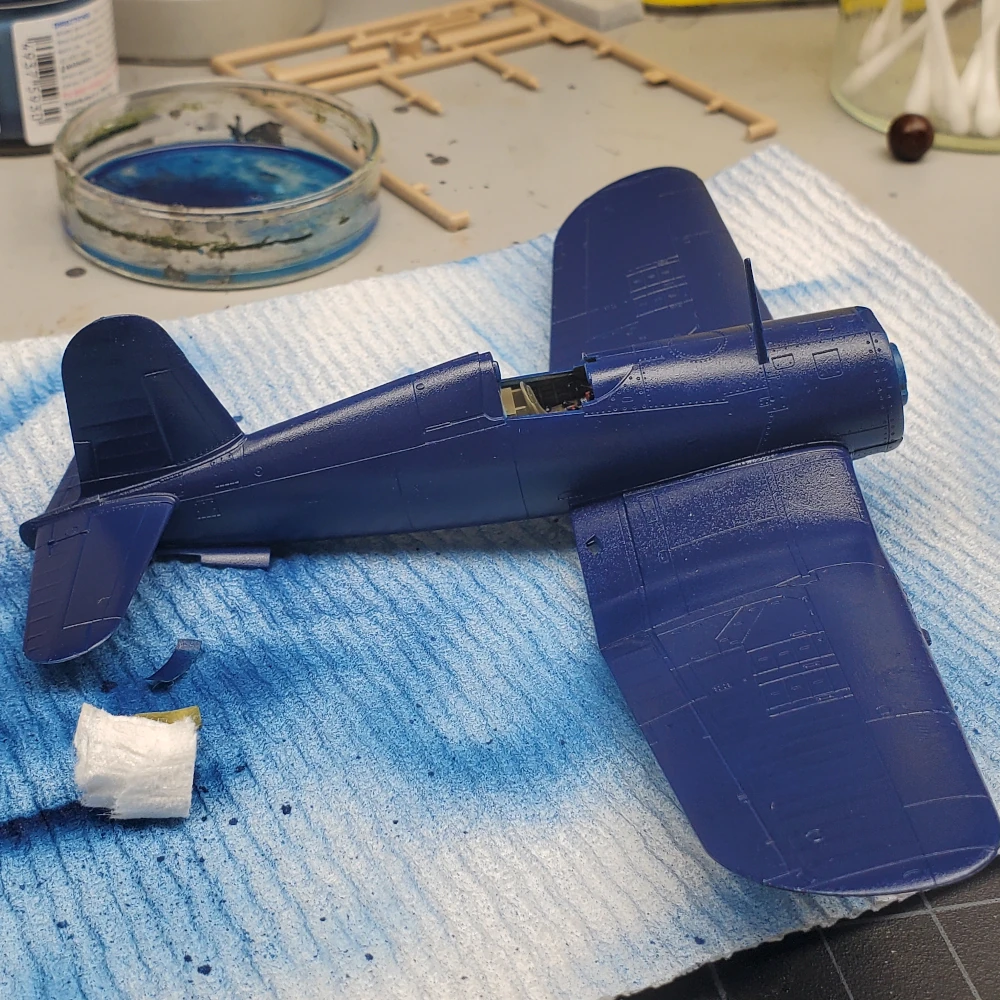
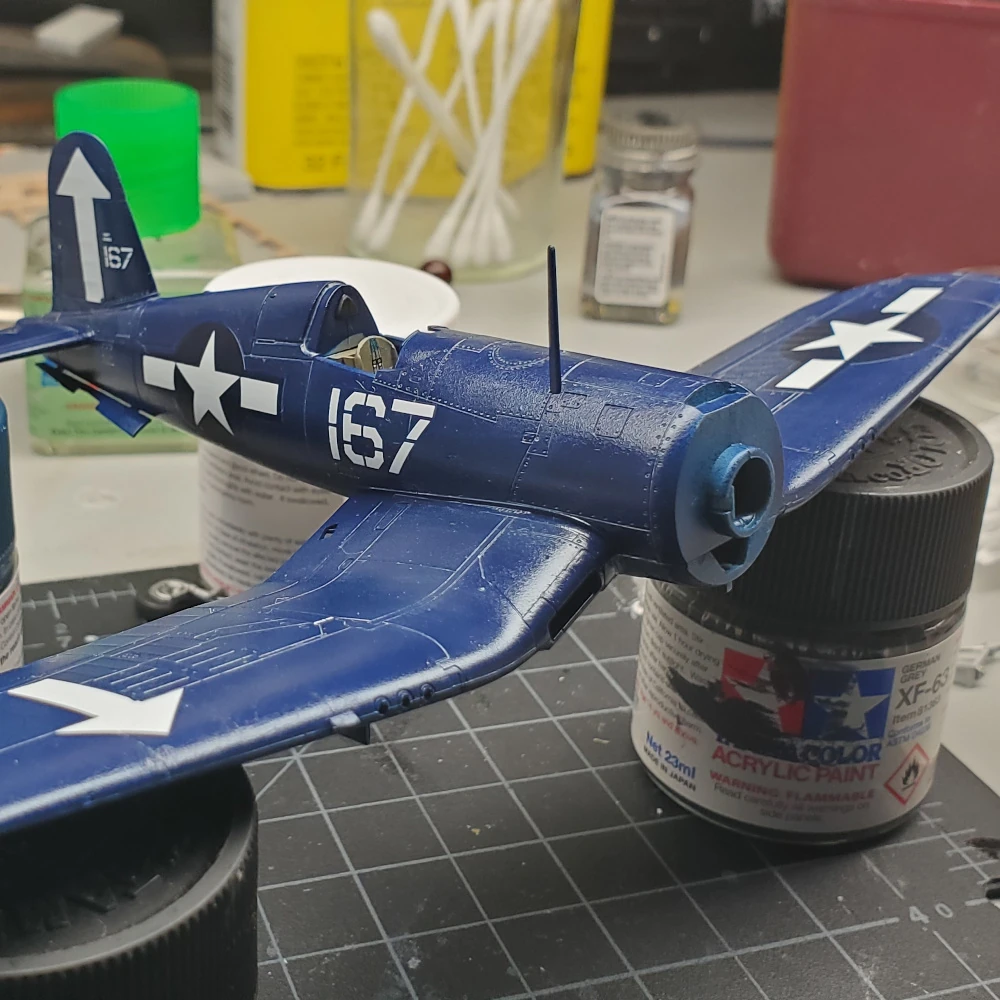
The instructions called for AS-8 Navy Blue (US Navy), but I found X-3 Royal Blue worked just fine. I don’t believe I thinned the paint enough to be passed through the airbrush efficiently. This lead to a splattered look which was coarse. After this, decals were applied. These decals were quite thick which I have heard to not look very realistic and stickerlike, but I found the decals to be enjoyable to work with. They didn’t immediately stick to the model and wouldn’t let go. It was easier to reposition them.
Finishing
Top Coat: Gloss was applied through a spray can. This somewhat aided in making the coarse paint job more smooth. Next time I think I would buy some Top Coat Matt or Satin for a more flat finish.
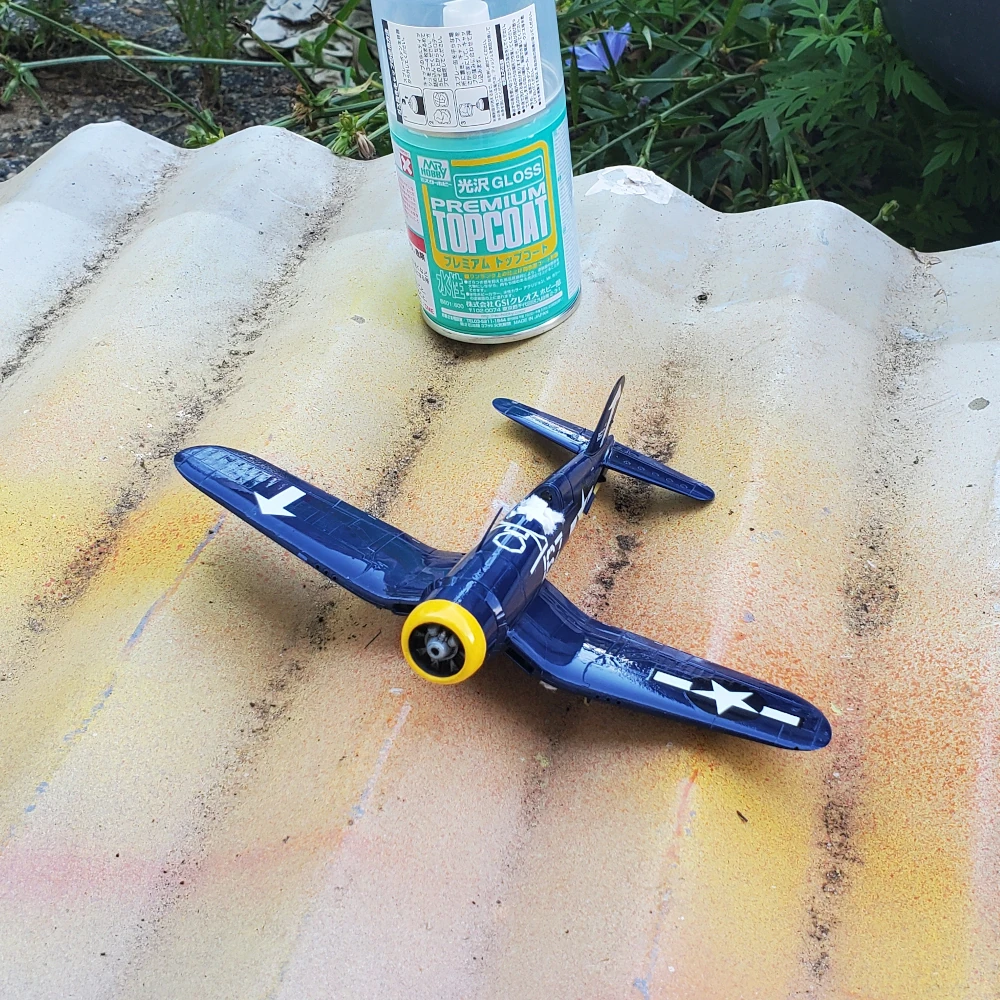
I wanted to use panel wash to give more depth to the model, but the Tamiya black wash I thought would look too dark on this navy blue plane. So I mixed some Model Masters Light Ghost Gray and paint thinner to create some sort of wash. It didn’t flow very well, but in the end it looked fine.
Final Thoughts
If I had to redo this kit, I think the main thing that I would do differently is the body color. I believe the paint was not thinned down properly enough and if thinned would result in a lot smoother of an appearance. I would have also airbrushed the yellow on the nose instead of painting it with a brush.